Running a multisite solution on localhost through Visual Studio is quite easy to set up. A small Visual Studio config file needs a small touch and everything is ready.
The secret is to edit the applicationhost.config-file, which is found in the .vs-folder that Visual Studio creates in your solution:

The full path to the file will be something like this:
.vs\[Project name]\config\applicationhost.config
Inside that file, find your site in the <sites>-tag, and edit the <bindings>. In my example, I've added all the sites in my multisite solution here:
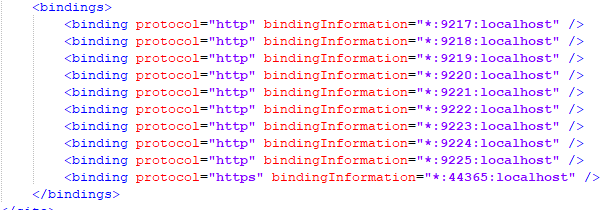
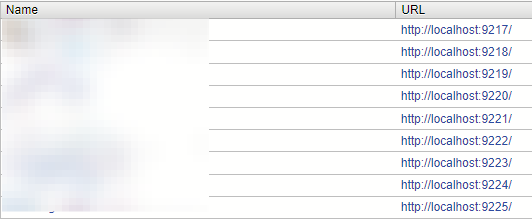
Running the site through Visual Studio, will now make your localhost answer all the bindings:

Optimizely CMS 11 - How to set up multisite:
- Create different start pages below the root
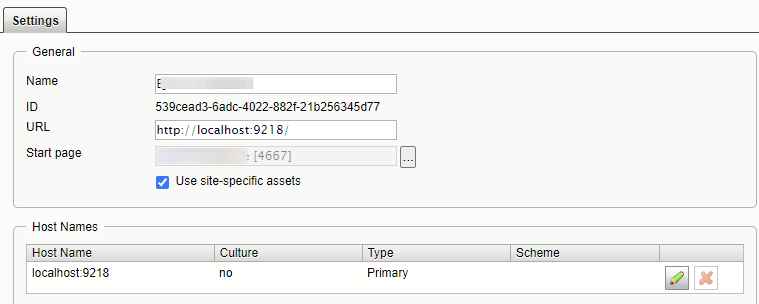
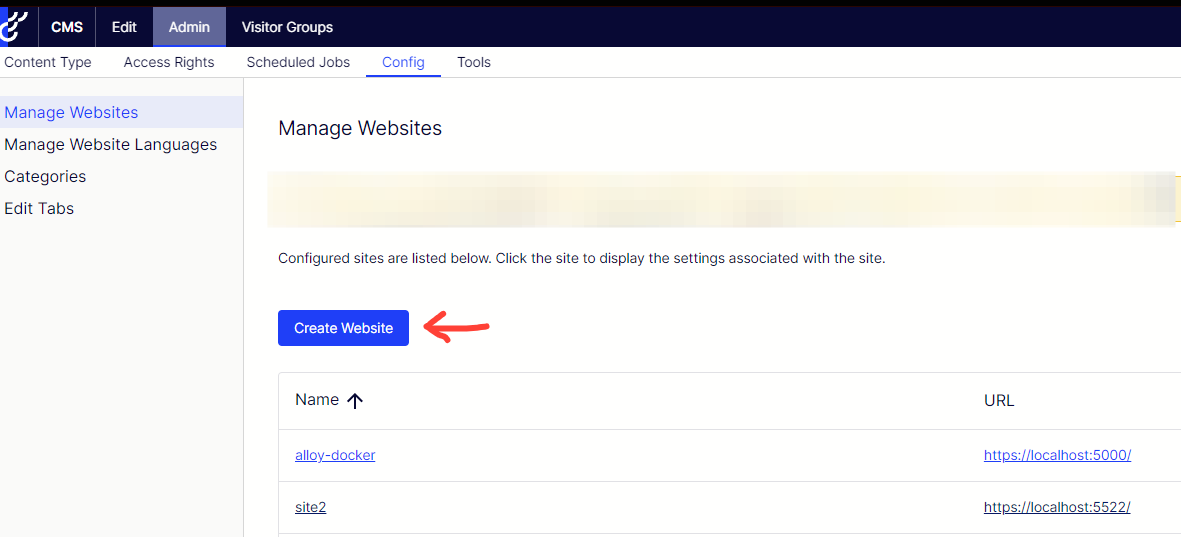
- Go to Admin Mode -> Config -> Manage Websites, and add all the sites you want. In my example I have these:
When this is done, your multisite is ready to go on localhost too.
Optimizely CMS 12 - How to set up multisite:
- Create different startpages below the root
- Go to Admin Mode ->

You must then edit launchSettings.json, and update it with you new site URLs. Adding multiple URLs to the applicationUrl-setting is done by adding a ; between the URLs:

With that everything is ready, just run your site through VS and it will answer all your new localhost URLs.