There are many different solutions to translating content when working with multilingual sites in Episerver. There are companies with modules that will take good care of the translating, both automatically and by human intervention. The problem is that this can be an expensive solution, it often costs a lot.
Episerver CMS and Azure can help you with your translations, and it doesn`t need to cost anything. This solution has been around for years, but many do not know about it. Microsoft has a Translator Text API that gets better and better each day, and it is easily set up in Azure. Together with Episerver Languages-addon in Episerver CMS, translating whole pages can be done instantly, and free.
How to get started
First, you will need to set up the translator service in Azure:
You need to add the translator service to obtain the key needed to activate translations inside edit mode of Episerver CMS.
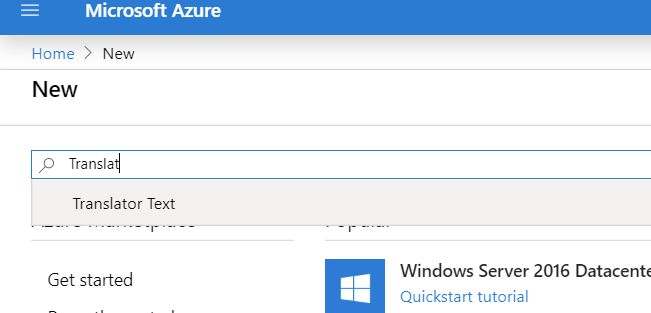
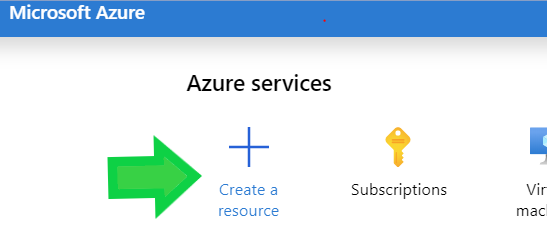
This is done by either click on the desired Translator service in Azure, or just do a quick search for Translator Text,
and select it:
Click Create on the Translator Text package.
![]() Azure will then automatically set up the Cognitive Service resource you need. You will be asked a few questions related to usage. The first 2M translated characters each month are free, so for most users, it will be sufficient with the free subscription alternative.
Azure will then automatically set up the Cognitive Service resource you need. You will be asked a few questions related to usage. The first 2M translated characters each month are free, so for most users, it will be sufficient with the free subscription alternative.
The create-process is very fast, and you will soon see the following inside azure:
![]()
You will need to copy the Key1-value, this is the connector needed to make Episerver use your new translator service.
Start using your translator
First of all, you need the Episerver Languages addon installed in your project. Installation of the addon is super easy, and if you have a multilingual site this gadget is a must-have.
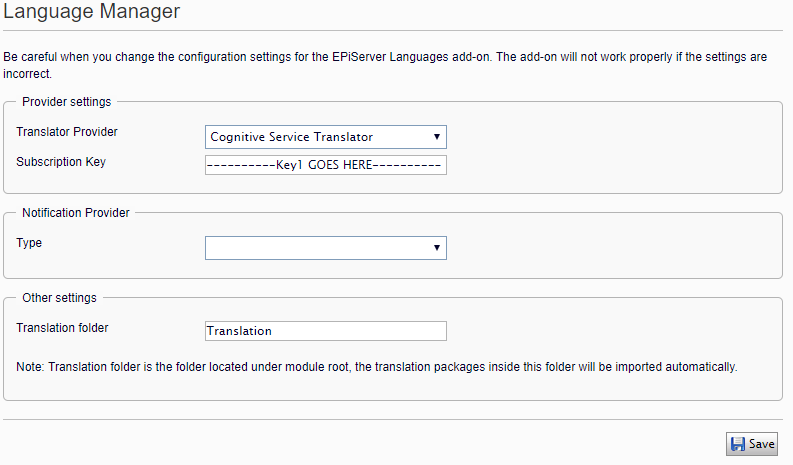
You need to navigate to the Episerver Languages settings page. You need admin access to do this, and it can be done by either visiting admin mode -> config-tab and then locate Tool Settings, there you will find Language Manager. A faster way would be to click Manage Add-on Settings directly from the gadget options.
There you must select Cognitive Service Translator in Translator Provider, and paste your key from the translation service in Azure in Subscription Key.
Everything needed is now done, and translation content can be easily done via the Language gadget in edit mode:
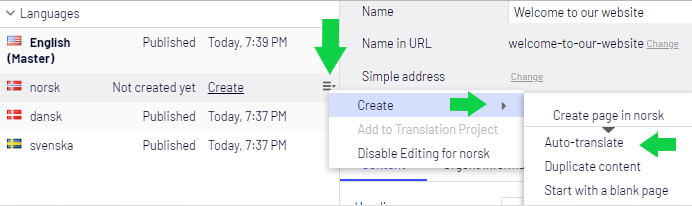
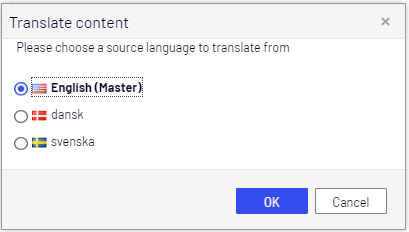
If the page exists in more than one language version already, you can choose the version you are translating from:
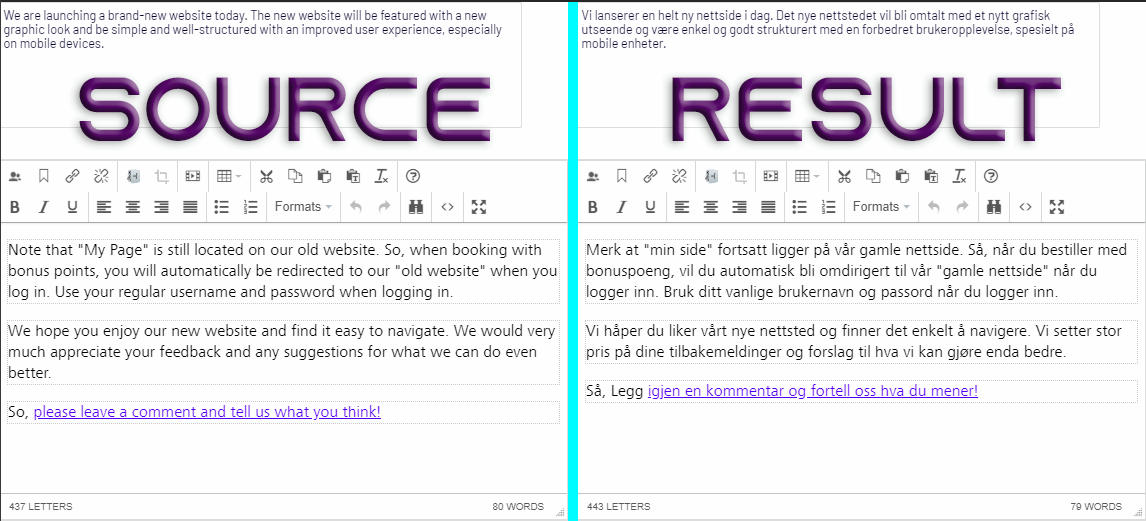
The result will appear after a couple of seconds, and the new page will be stored as a draft. Auto-translating was earlier a more funny than necessary thing, but machine learning is making the translations better and better every day. It is still required to read through the result and correct possible errors though.
Important: Blocks that appear on the page will not magically be translated too, for translating the blocks you will need to do the same as you did with the page (Open block, use Language gadget to auto-translate it).
Result
Example of a result of auto-translate when translating from English to Norwegian:
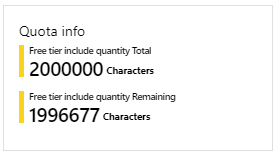
Afraid of reaching the 2M translation limit? Raising your limit is cheap in Azure, and you can log into Azure to see the current status: