When I was going to set up build and deploy for Episerver DXP for the first time, I didn't know where to start. I read the documentation, but there are so many options and so few practical examples! What to do? Where to start?
I needed more information, so I read about Epinova's extension with tasks for Azure DevOps, I read Anders Wahlqvist's blog post about Azure DevOps and Episerver deployment API and I read Sergii Vorushylo blog post about Deployment API in DXP. I still had a ton of questions, and didn't really love any of the setups. But maybe, if I could cherry pick the best from all of them?
After reading what I could find, and talking to someone who had done this before, I made two decisions:
- I was going to build and deploy using Azure DevOps
- I was going to use Epinova's extension for Azure DevOps
In DXP we have three environments available, all three with deployment slots.
- Integration
- Preproduction
- Production
Referring to Epinova's second blog post about branch and release strategy, I decided to go for the following two principles.
- When the develop branch is updated, the Integration environment should automatically be updated.
- When the master branch is updated, a release is created that can manually be deployed to Preproduction and/or Production.
Build and deploy to Integration
For deployment to the Integration environment, this is where we really have a lot of options. Unlike the preproduction and production environments, we can access the Azure Web App directly. This means that you can publish code directly from Visual Studio, you can publish directly to the Web App using Azure DevOps and Octopus Deploy, or you can upload a code package and then use the deployment API.
I want the Integration environment to be updated immediately after a change is done to the develop branch, and that sadly rules out using the Deployment API. The deployment API is slow, and slightly unpredictable when it comes to exactly how slow it is. Deploying directly to the Web App is fast and consistent. A deployment directly to the Web App is done in about 3 minutes, while using the deployment API will take anything from 15 to 60+ minutes. One reason deploying directly to the Web App is faster, is that you can deploy directly to the Web App, while the deployment API will first deploy to the slot, then warm up the slot and finally perform a swap.
One drawback of deploying directly to the Web App, is that I need a separate build for Integration on one hand, and Preproduction/Production on the other hand, if I want the option to deploy directly to Preproduction or Production.
For deployment directly to the Web App a different code package format is needed, than when deploying using the deployment API. When deploying using the deployment API, you need a .nupkg-file.
Conclusion: Deploy directly to the Web App using Azure DevOps.
Transforming configuration files
You are probably familiar with transforming configuration files, but with all the options in DXP some extra considerations have to be made. I create one transform for each of the three environments. So far, so good.
In a traditional deployment process, you will start with web.config as the base, and then add the transformation for the environment you are targetting. The same goes for DXP when you are deploying directly to one environment using any of the available deployment options.
However, in DXP we have another option, that makes us think differently about transforming configuration files. In the paas self service portal, you can promote code from one environment to the next.
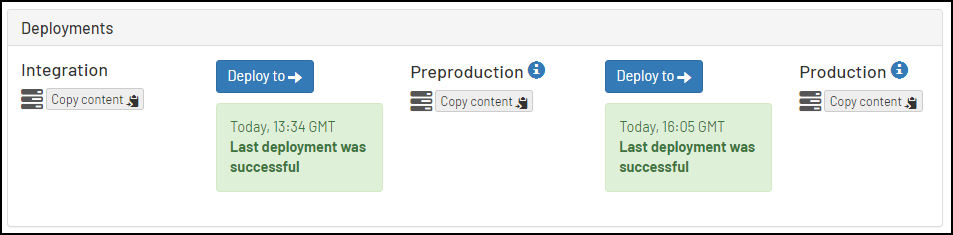
Using the «deploy to» buttons, we can move code from Integration to Preproduction, or from Preproduction to Production.
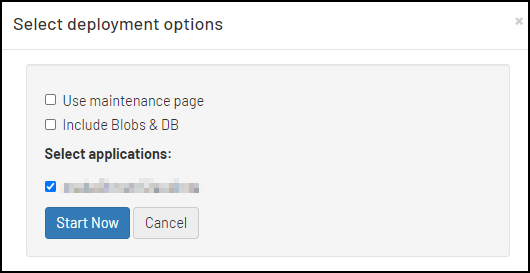
There is also an option to include blobs & database. This is typically done on the initial deploy.
If you move code from Integration to Preproduction, the Preproduction-transform is applied to the web.config that has already had the Integration-transform applied. And if you later promote the same code to Production, all three transformations will be applied in sequence.
You should make sure your transformations yeilds the same result, no matter how the transformations are applied.
This:
web.config -> apply web.integreation.config -> apply web.preproduction.config -> apply web.prodcution.configShould give the same result as
web.config -> apply web.production.configI often use the combination of Remove and Insert to accomplish this, or even InsertIfMissing, that I recently discovered. Example:
XML<applicationInitialization xdt:Transform="Remove" />
<applicationInitialization xdt:Transform="InsertIfMissing">
  <add initializationPage="/" />
</applicationInitialization>
Build pipeline for the develop branch
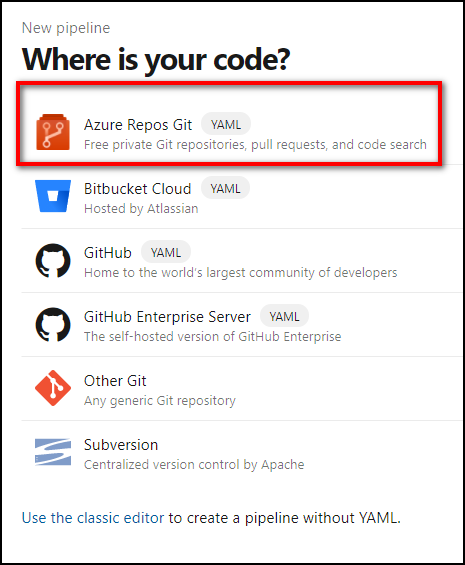
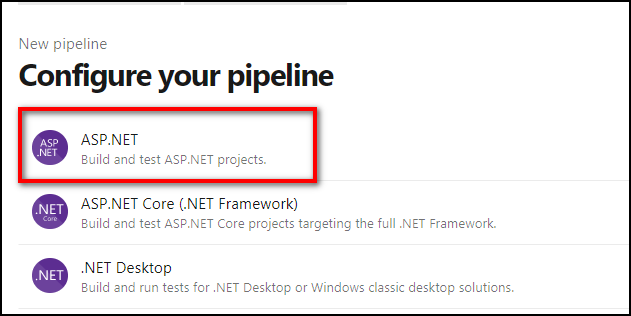
To set up a build pipeline in Azure DevOps, Pipelines, select «New Pipeline».

Select where your source code is located. My source code is in Azure Repos.
Then select your repository, and then finally ASP.NET.
A new YAML file with the build specification is then created for you.
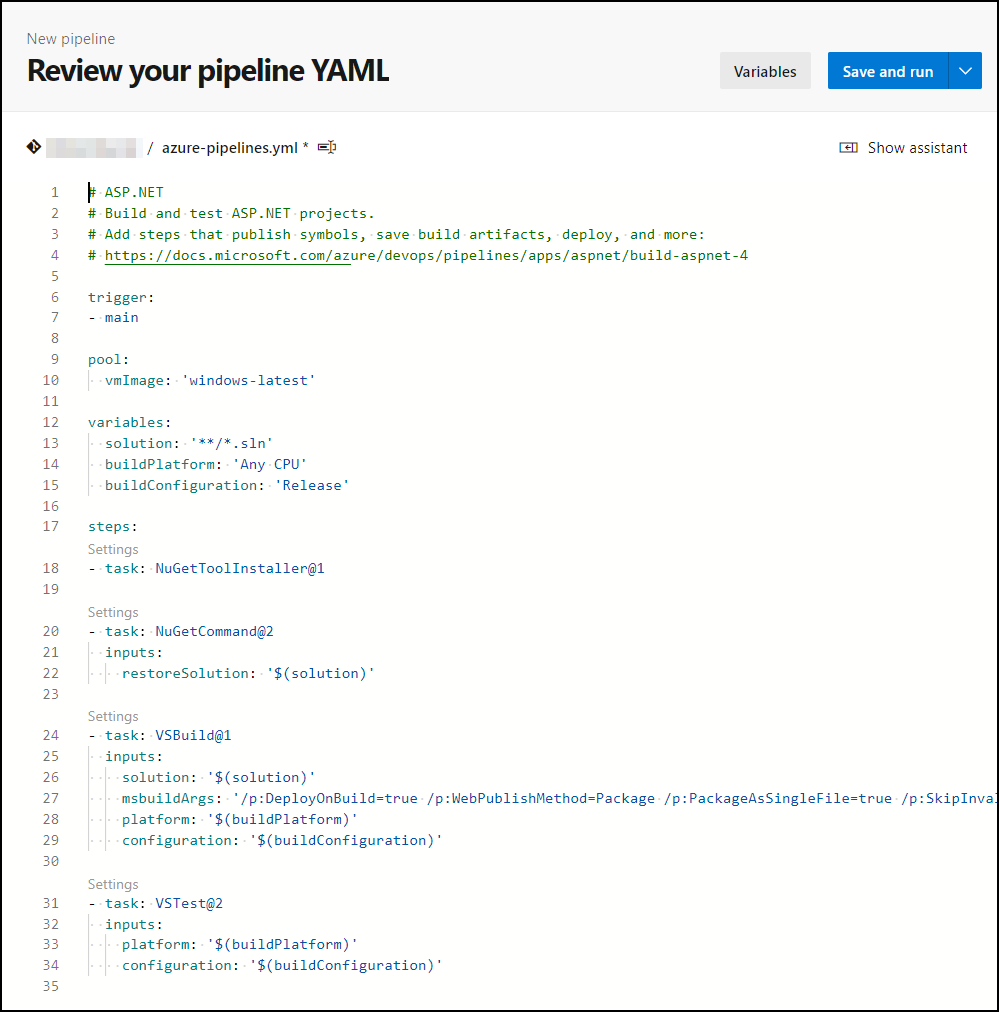
For me, only two changes are needed. The branch I want to automatically build and deploy is develop, not main. So I change this:
trigger:
- main
to
trigger:
- develop
So that the build is started when the develop branch is updated.
Then I had to add the following argument to the list of msbuildArgs on line 27.
/p:MarkWebConfigAssistFilesAsExclude=falseWithout this argument, only web.config is included on the build artifact. To include all the transformations:
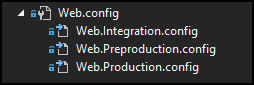
- web.Integration.config
- web.Preproduction.config
- web.Production.config
...we need /p:MarkWebConfigAssistFilesAsExclude=false - with that in place we accomplish two things:
- When deploying to the Integration environment, web.config will be transformed using web.Integration.config.
- If we decide to use the Deployment API, or the PaaS-portal, to promote the package to Preproduction (and maybe later Production) the correct transformations will be applied.
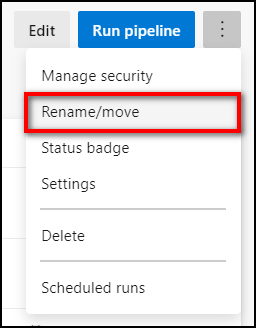
As a final step you can save and commit the yaml file to source control. After the pipeline is saved, you can rename your pipeline. The name is not part of the YAML file. I will call my build pipeline «Build for integration».
Setting up a service connection
To be able to deploy directly to the Azure Web App, you will need to ask Episerver Support for a Service Principal. You will get:
- Client\Application ID
- Password\key
- Tenant ID
- Subscription ID
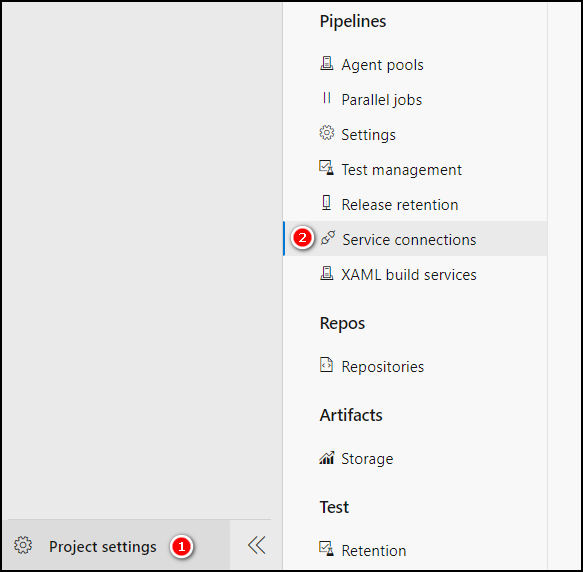
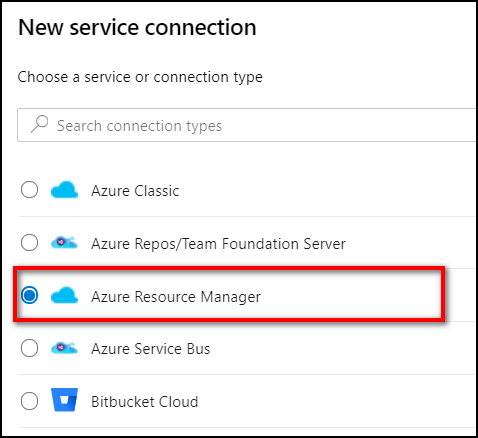
Use this Service Principal to create a Service connection. In Azure DevOps, access your project settings, and click «Service connections».
Then click «New service connection».

Select «Azure Resource Manager».
Then «Manual», and click «Next».
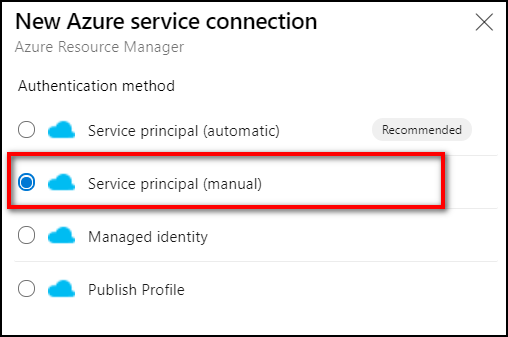
Then enter the Service Principal details you got from Episerver Support, click «Verify and save». We will need this service connection later, to set up the deployment.
Deploying to integration
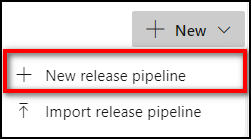
In Azure Devops, select Releases:

Then click: «New release pipeline»:
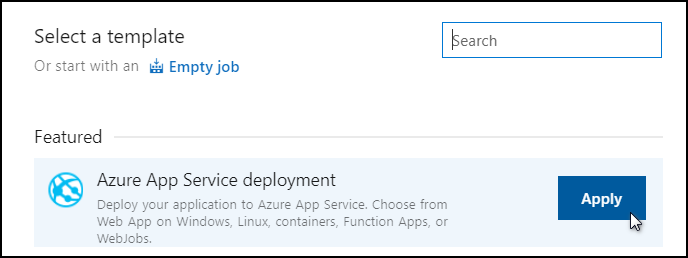
Select «Azure App Service deployment» from the list of available templates.
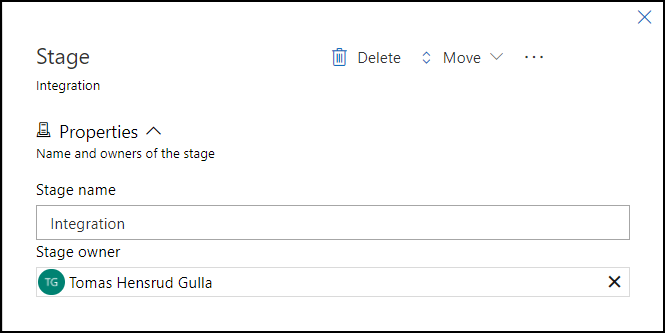
Name your pipeline. Make sure your pipeline has the same name as the configuration transformations you would like to apply, I choose «Integration», the same as the name of the DXP environment we will be deploying to.
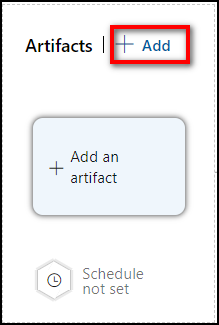
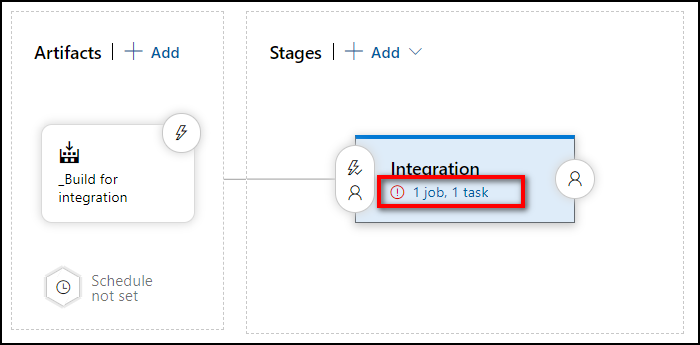
Continue selecting the artifact you want to deploy. Click the «add» button, and select the artifact created by the build you created in the previous step.
Then click «1 job, 1 task», to continue configuring your deploy pipeline.
You will then have to enter the following required properties.
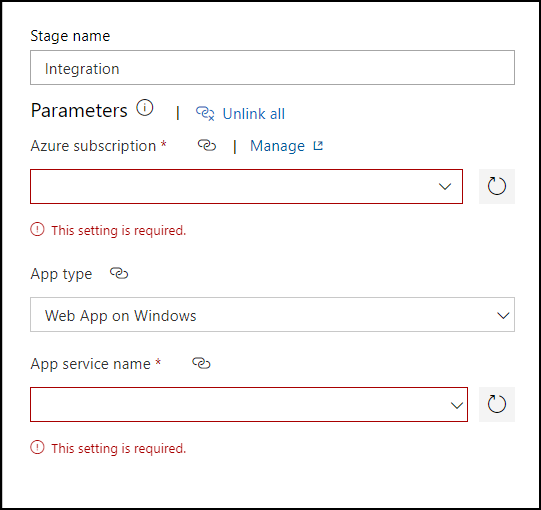
For the «Azure subscription» select the Azure service connection created earlier:
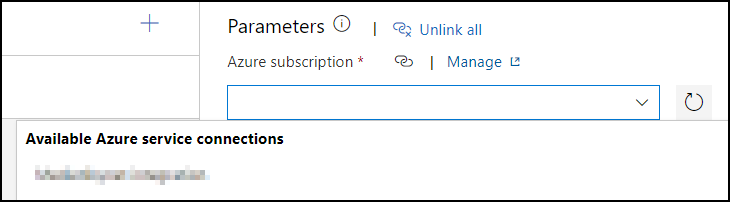
When you have selected the service connection, the drop-down list for «App service name» will have only one option; your integration app service.
That's all, but I also want to change the name of the releases that will be created. This is the default:
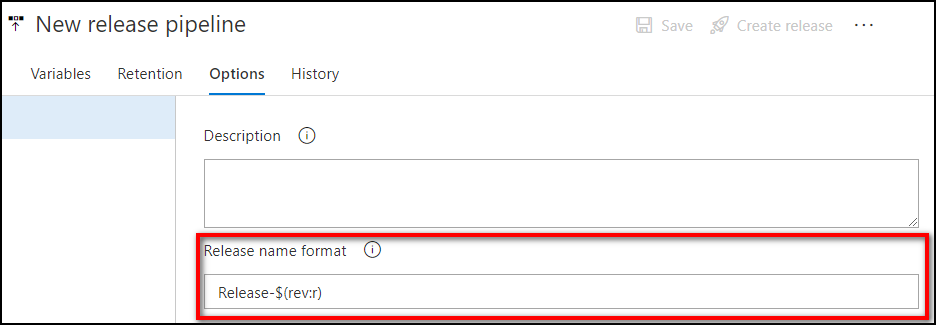
I change the name format to this:
$(Build.BuildNumber)-$(Rev:rr)-integration-$(Build.SourceBranch)And the result could look like this:

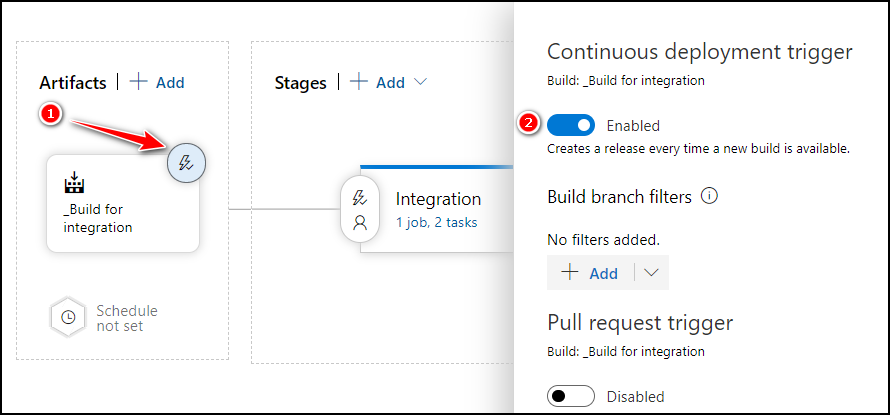
The trigger that is the first part of the YAML file, will automatically start the build when changes are committed to the develop branch. I enabled the continuous deployment trigger, like in the screenshot below. This will automatically create a new release when the build is finished.
To actually perform the deployment, not only create the release, I must set the pre-deployment trigger to auto-deploy whenever a new release is created. Like this:
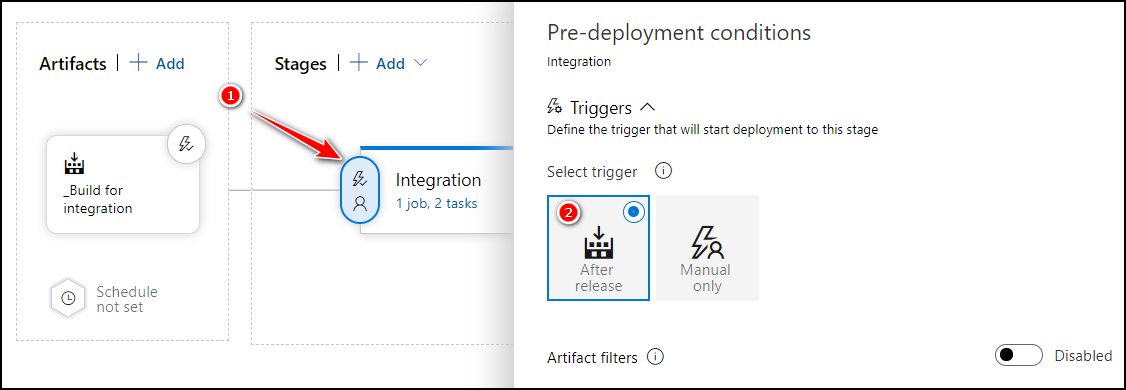
Finally! Every new check in to develop should result in a new deployment to your Integration environment.
For information on how to deploy to the other environments, specifically Preproduction and Production, please refer to the next blog post in this series.