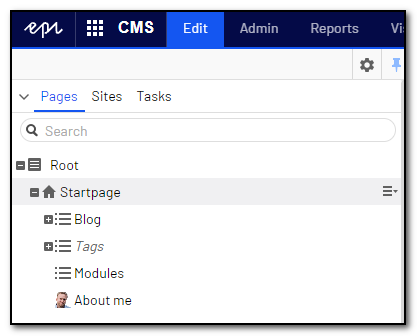
By default, all pages in your Optimizely page tree look the same.
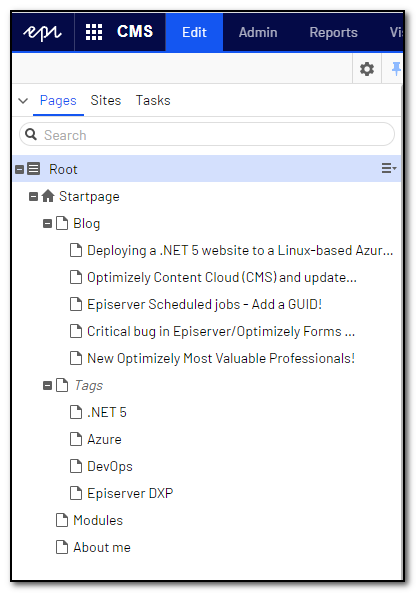
You can add your personal touch, and make it easier to visually separate the different types of pages.
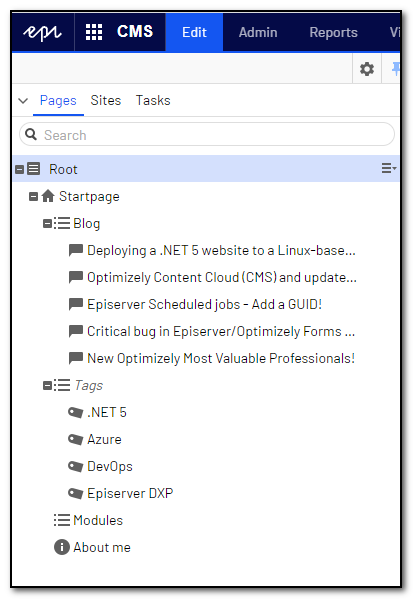
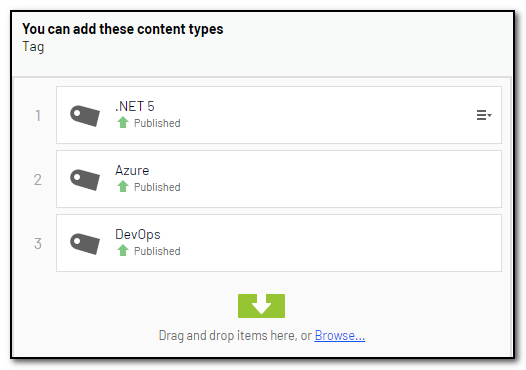
The custom icons will also be shown in content areas.
To change the icon for a page type, create a UIDescriptorRegistration, like this.
[UIDescriptorRegistration]
public class BlogPostUIEditorDescriptor : ExtendedUIDescriptor<BlogPost>
{
    public BlogPostUIEditorDescriptor() : base("epi-iconBubble")
    {
    }
}
Class names can be found in the Episerver Front-End Style Guide, as Object Icons.
If you do not like the available icons from the style guide, you may add your own. Say I want my face is on the About me page, in 16x16 pixels. I can do that!
We need to add a custom CSS file, and make sure it's loaded in edit mode. To accomplish this, create a file named module.config with a reference to the CSS file.
<?xml version="1.0" encoding="utf-8"?>
<module>
  <clientResources>
    <add name="epi-cms.widgets.base" path="Styles/PageTreeIcon.css" resourceType="Style" />
  </clientResources>
</module>
The name must be exact epi-cms.widgets.base for the script to be loaded in edit mode. Then create a CSS file, and define a class that you will add to your page type, the same way as with the BlogPostUIEditorDescriptor above. Example:
.epi-gulla-page {
    background: url('/Static/Images/thg.png');
    height: 16px;
    width: 16px;
}
The path to the CSS file has /ClientResources/ as the root, so the full path to the CSS file will be: /ClientResources/Styles/PageTreeIcon.css
That's it! Now my face is on the About-me page, in 16x16 pixels.