My goal with this app was just to be able too show a normal checkbox instead of two radio buttons for the Boolean fields in Contentful, after one of my colleagues reached out to customer support with the response:
- Thanks for reaching out to support. Currently the field appearance for this is a radio button. If you would like to change the buttons appearance you can create a custom field editor with our APP SDK
So the first thing needed is a new app in Contentful. What I started with was going into the Organization settings -> Organization settings & subscriptions -> Apps.
From here I chose the button for Create app - which gives you a popup window requiring an app name.
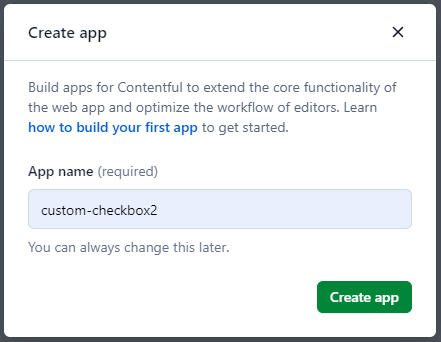
After typing in your the name for your app - click on the Create app button. Then on the next page type http://localhost:3000 into the field for hosting your app:
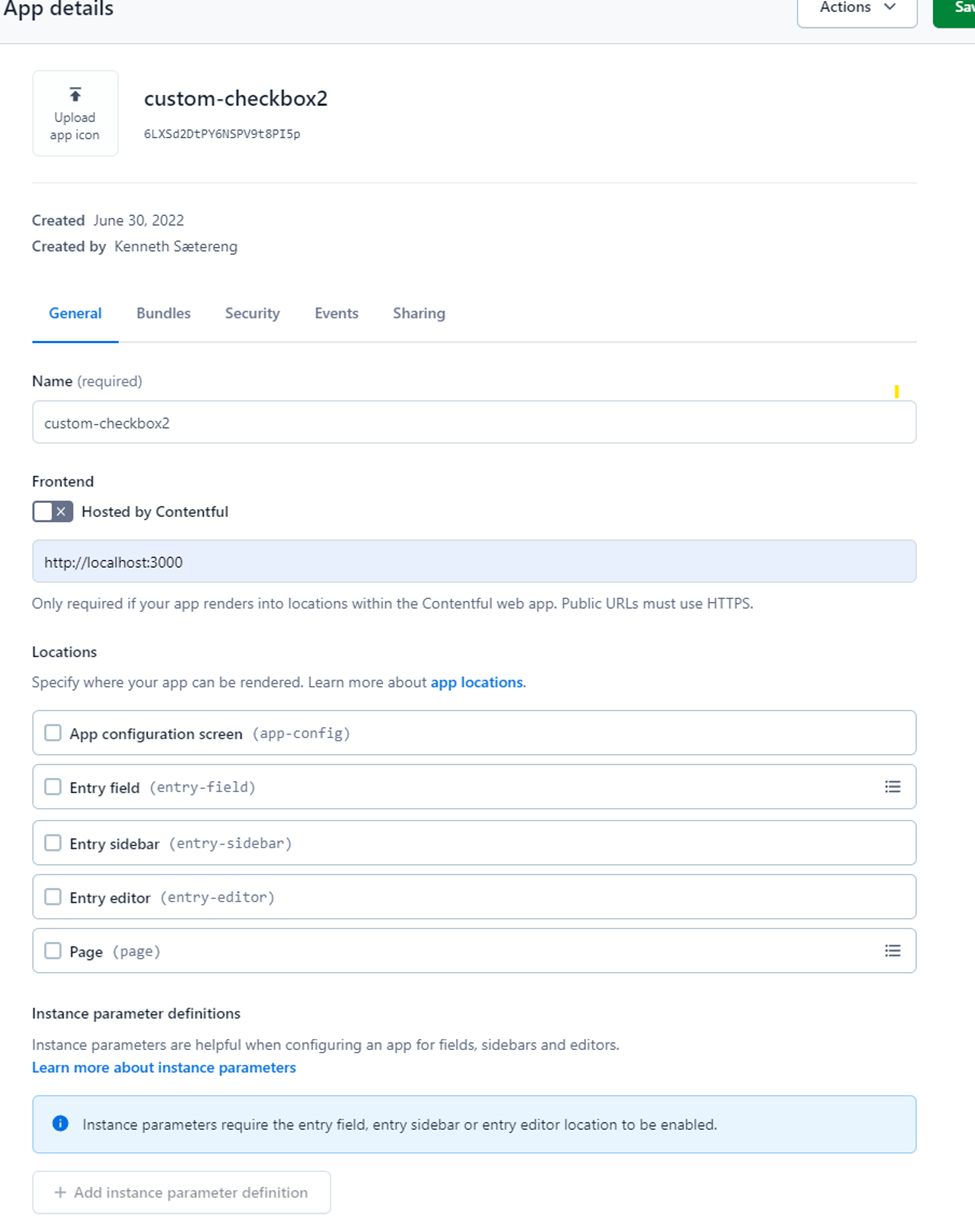
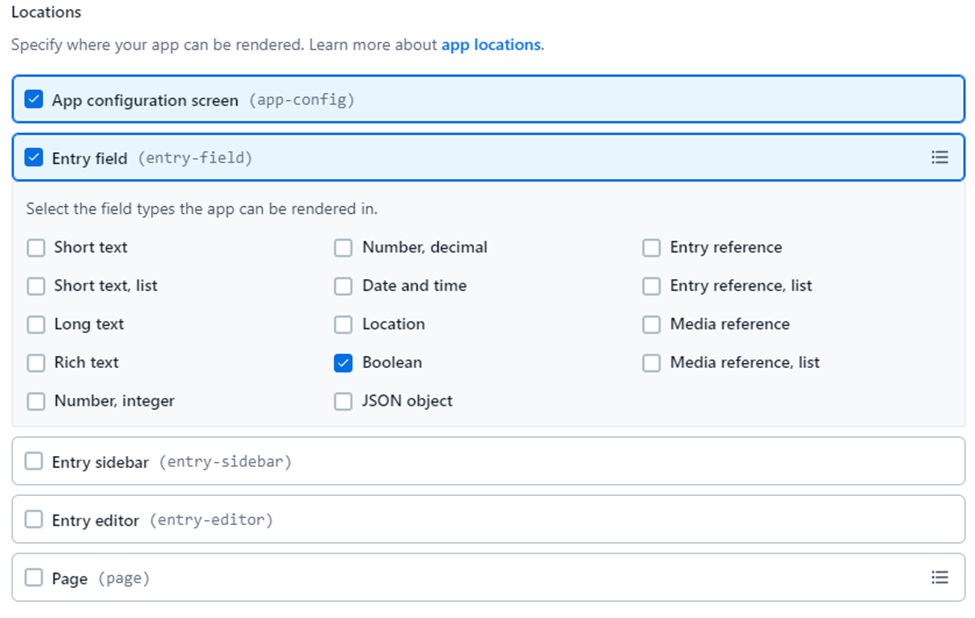
The next step is to choose which part of our content we want to change. I’m selecting App configuration screen and Entry field -> Boolean
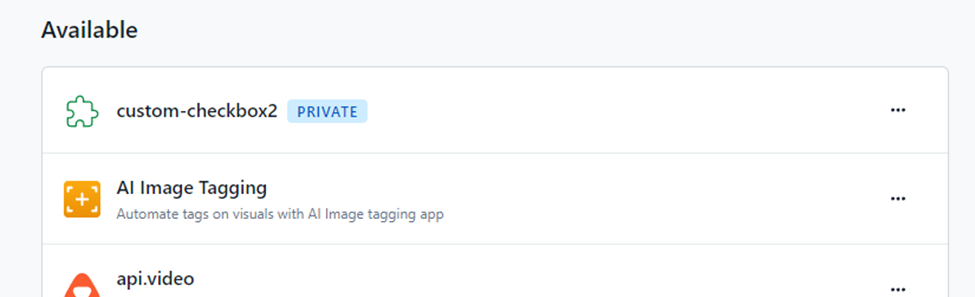
Now we can go ahead and Save our newly created app. To verify this we can go to our space and select Apps -> Manage apps from the top menu.
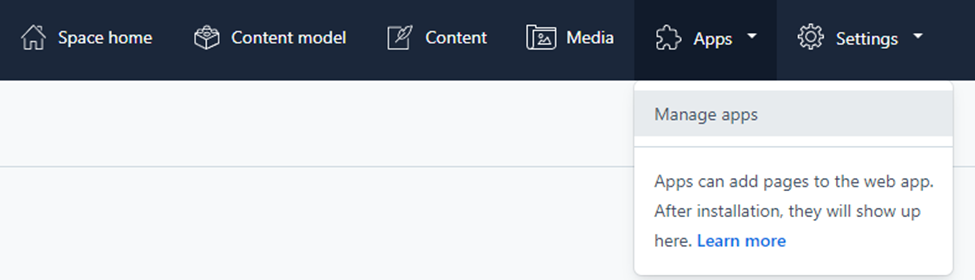
From the list of available apps you should see your newly created app.
The next step is to create the actual app with the contentful create script.
Go to the folder where you want to create your app, open up a command window and type the following code:npx create-contentful-app custom-checkbox2
Go into your newly created app/folder:
cd custom-checkbox2
To open your app in VS Code you can type:code .
From here open a new terminal window and type:npm run start
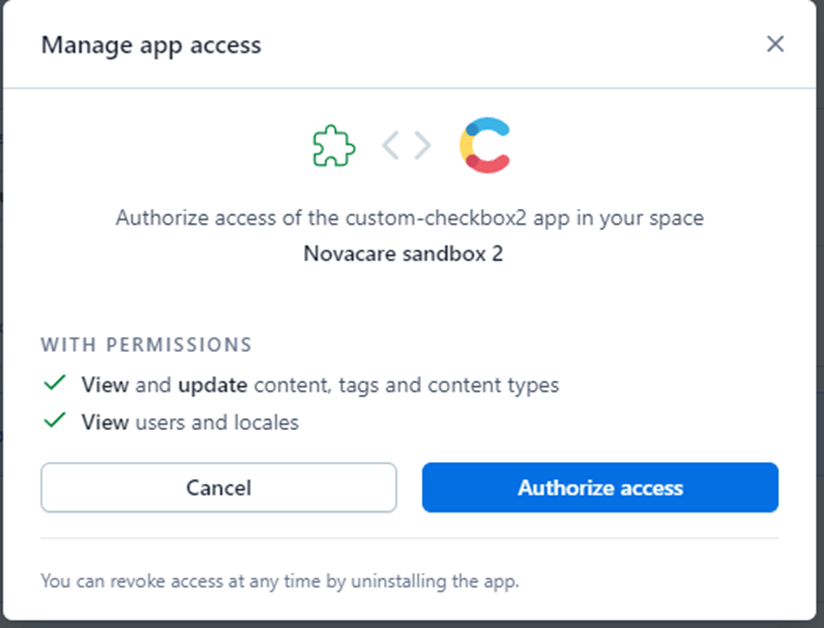
Next - go back to Contenful and the list of available apps - click on your app and select Authorize access, and your app will be installed for you.
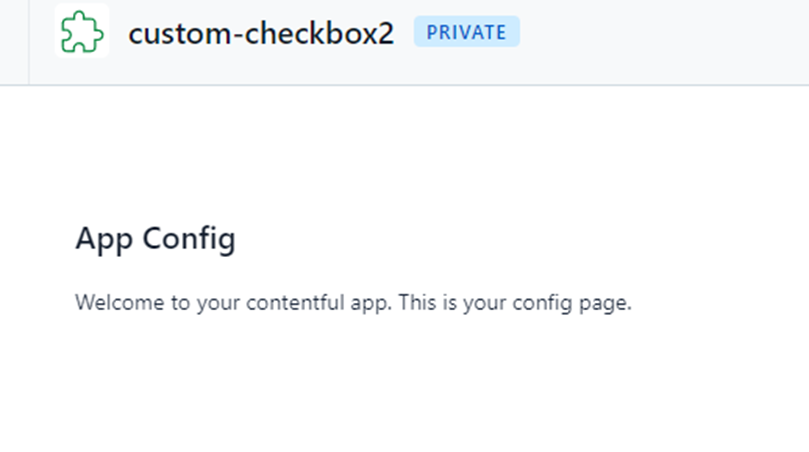
You will come to this window showing your newly created app:
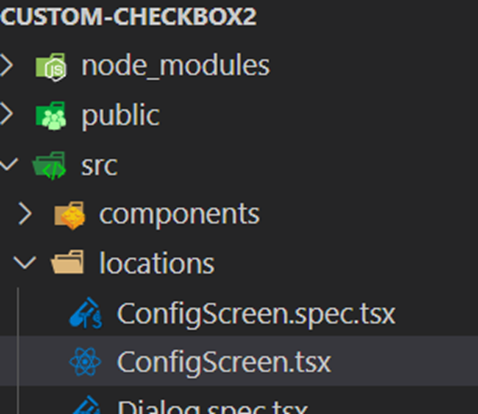
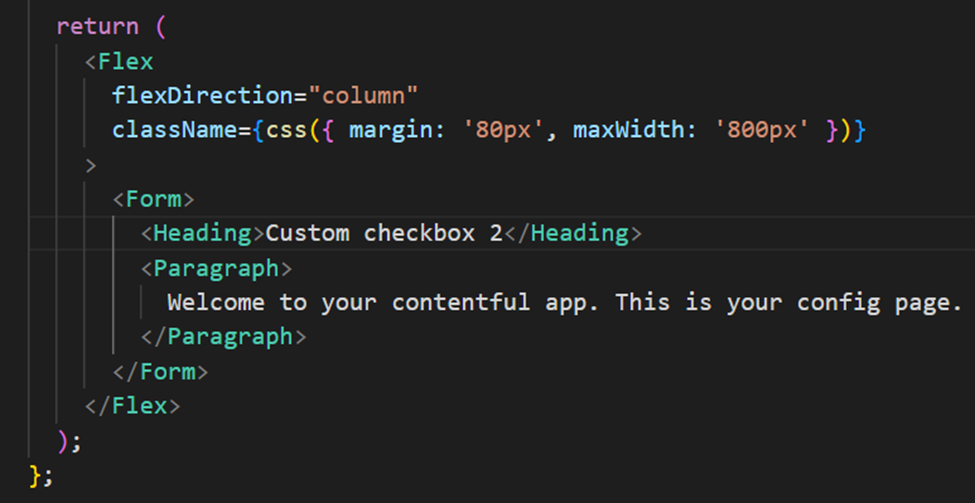
Next go back to your code into src -> locations -> ConfigScreen.tsx
At the bottom of this file type in your wanted title:
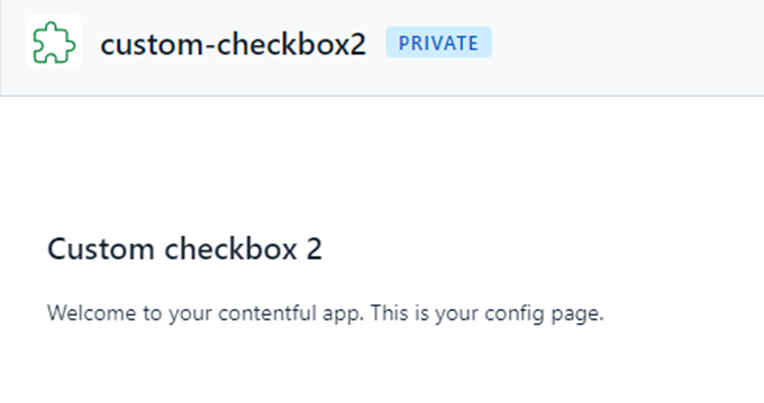
Save your file and verify the title is changed in Contenful:
Now in your top right corner click the Install button, wait for it to be installed and Save.
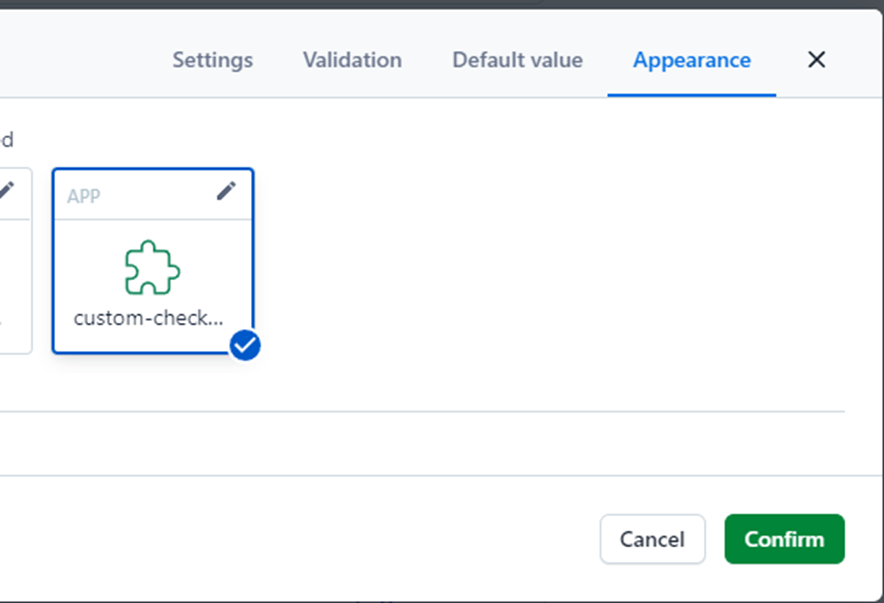
Next go to your Content Model and into the Content type and Entry field you would like your new app to be applied. Go to Settings of your field and the Appearance tab where your app should be visible. Select it and click Confirm – next Save your Content Model.
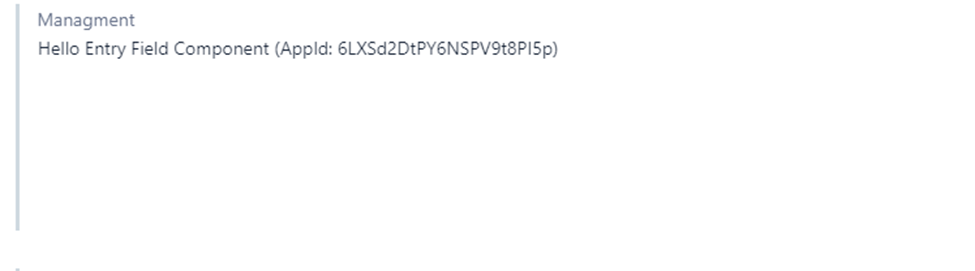
Now if you go to your content, the checkbox or radio buttons will not show, instead you might get something like this.
Go back to your code – into the Field.tsx file. In the top import the Checkbox component from f36-components delivered by Contentful:import { Paragraph, Checkbox } from '@contentful/f36-components';
We’re also gonna use setState from react. So import that as well:import React, { useState } from 'react';
It should now look something like this:
import { useState } from 'react';
import { Checkbox } from '@contentful/f36-components';
import { FieldExtensionSDK } from '@contentful/app-sdk';
import { /* useCMA, */ useSDK } from '@contentful/react-apps-toolkit';
Under the line:const sdk = useSDK<FieldExtensionSDK>();
Add this:const [checkboxState, setCheckboxState] = useState(sdk.field.getValue());
Add the following function to handle updating state and at the same time set the value for Contentful state handling:
  function setBoolValue() {
    setCheckboxState(!checkboxState);
    sdk.field.setValue(!checkboxState);
  }
Next add this to your return statement:
    <>
      <Checkbox
        isChecked={sdk.field.getValue()}
        onChange={setBoolValue}
      ></Checkbox>
    </>
Giving you this complete file
import { useState } from 'react';
import { Checkbox } from '@contentful/f36-components';
import { FieldExtensionSDK } from '@contentful/app-sdk';
import { /* useCMA, */ useSDK } from '@contentful/react-apps-toolkit';

const Field = () => {
  const sdk = useSDK<FieldExtensionSDK>();
  const [checkboxState, setCheckboxState] = useState(sdk.field.getValue());
  /*
     To use the cma, inject it as follows.
     If it is not needed, you can remove the next line.
  */
  // const cma = useCMA();
  // If you only want to extend Contentful's default editing experience
  // reuse Contentful's editor components
  // -> https://www.contentful.com/developers/docs/extensibility/field-editors/

  function setBoolValue() {
    setCheckboxState(!checkboxState);
    sdk.field.setValue(!checkboxState);
  }

  return (
    <>
      <Checkbox
        isChecked={sdk.field.getValue()}
        onChange={setBoolValue}
      ></Checkbox>
    </>
  );
};

export default Field;
Go back to Contentful and you should now be able to see your custom checkbox. Verify it’s working by checking it and see that your state is changing from Published to Changed. Publish changes, refresh the page and it should still be the value you set.
The final step is to run from terminal:npm run build
Localize your build folder in your source folder:
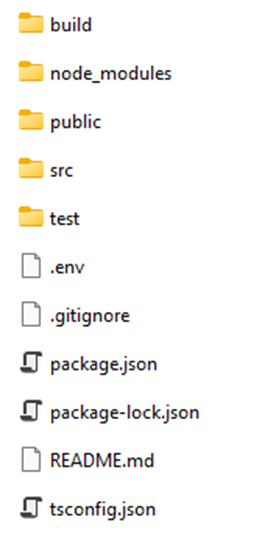
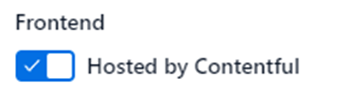
Go into Contentful under organization settings and apps. Choose your app, where we previously set http://localhost:3000 switch the Hosted by Contentful to true.

Like so:
Drag your build folder to the drop area and Save the app configuration.
Now everything should be set for the app to work without running locally.