Vue UI makes it effortless to set up a Vue frontend project with webpack. It should take no longer than 5 minutes to set up a frontend build system with your preferred settings. Let's go through the necessary steps in order to set up a new Vue project with Vue UI.
1. First you need to install the Vue CLI
npm install -g @vue/cli
2. When you got Vue CLI installed, all you have to do is open a terminal and type the following "Vue UI" and hit Enter.
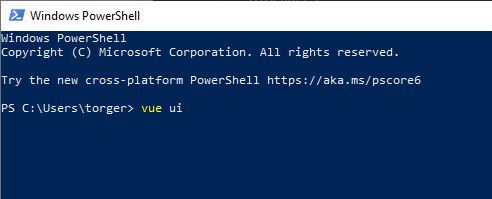
Once you hit enter, Vue CLI will launch up a graphical interface in your browser where you can start to set up your project.
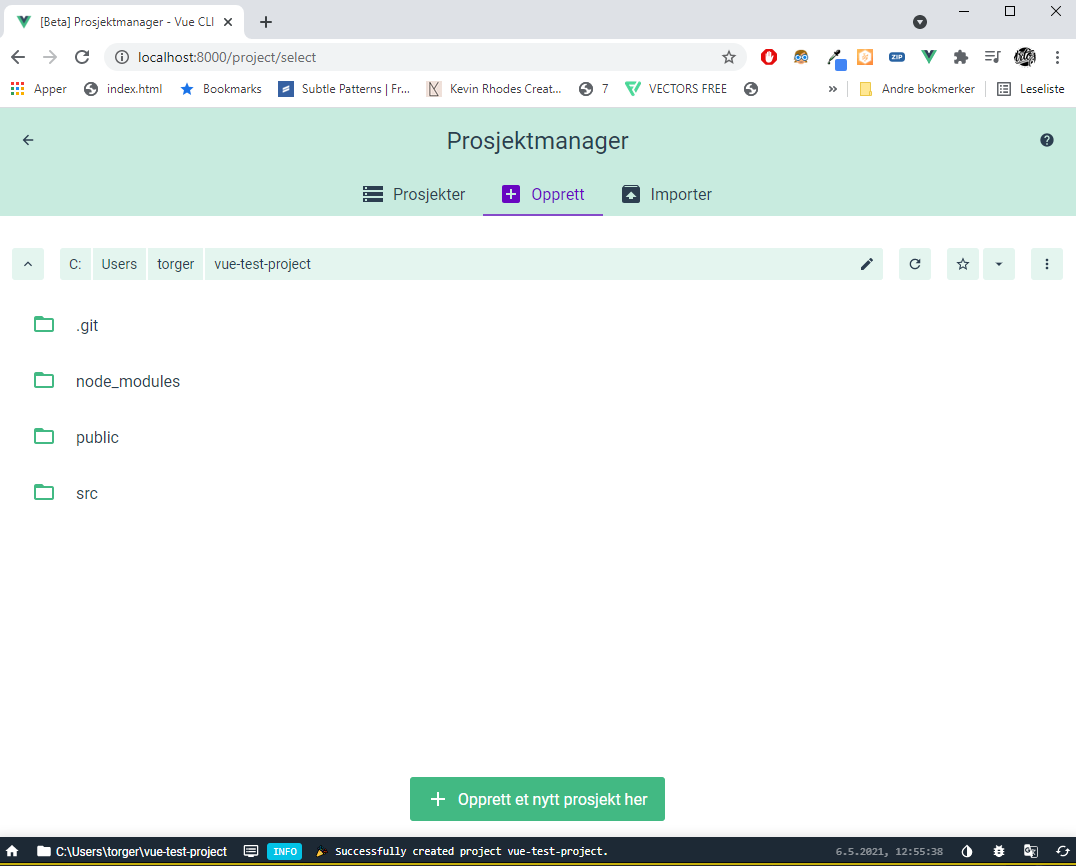
3. As we can see, the browser window has now created an interface of our folder structure. Now you can simply press the green button to start creating a new project to your desired location.
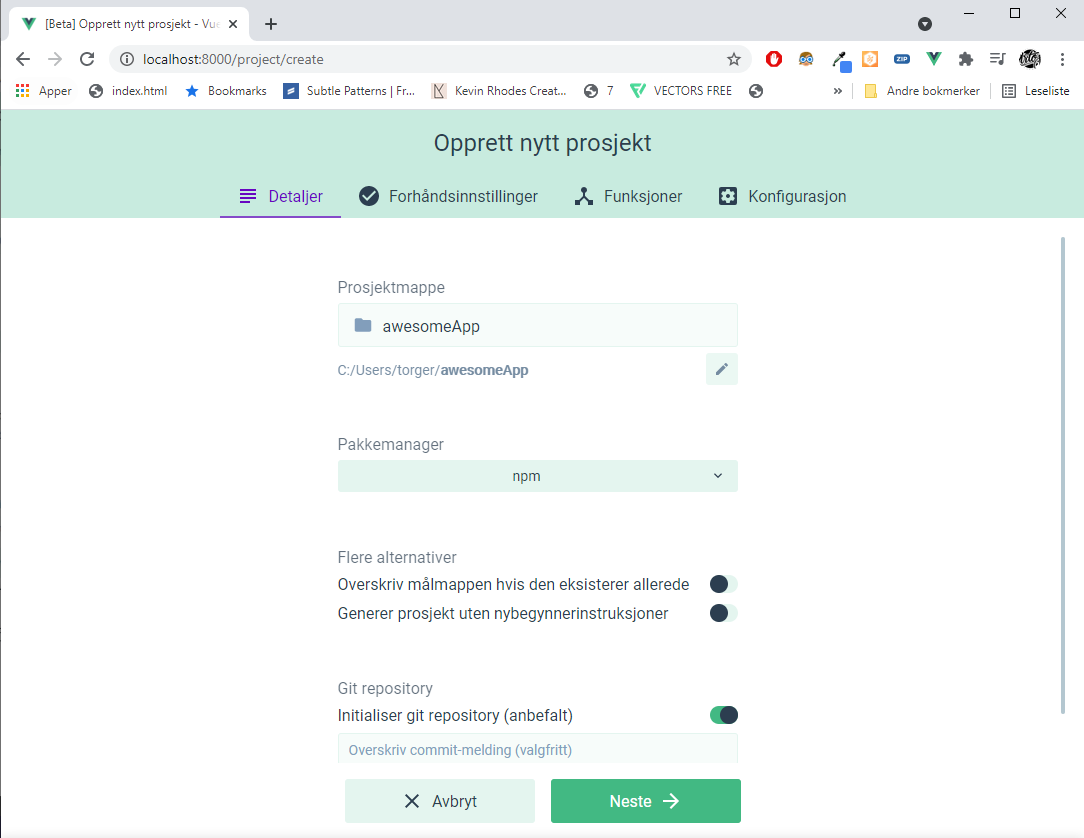
4. Give your project a name and pick a package manager
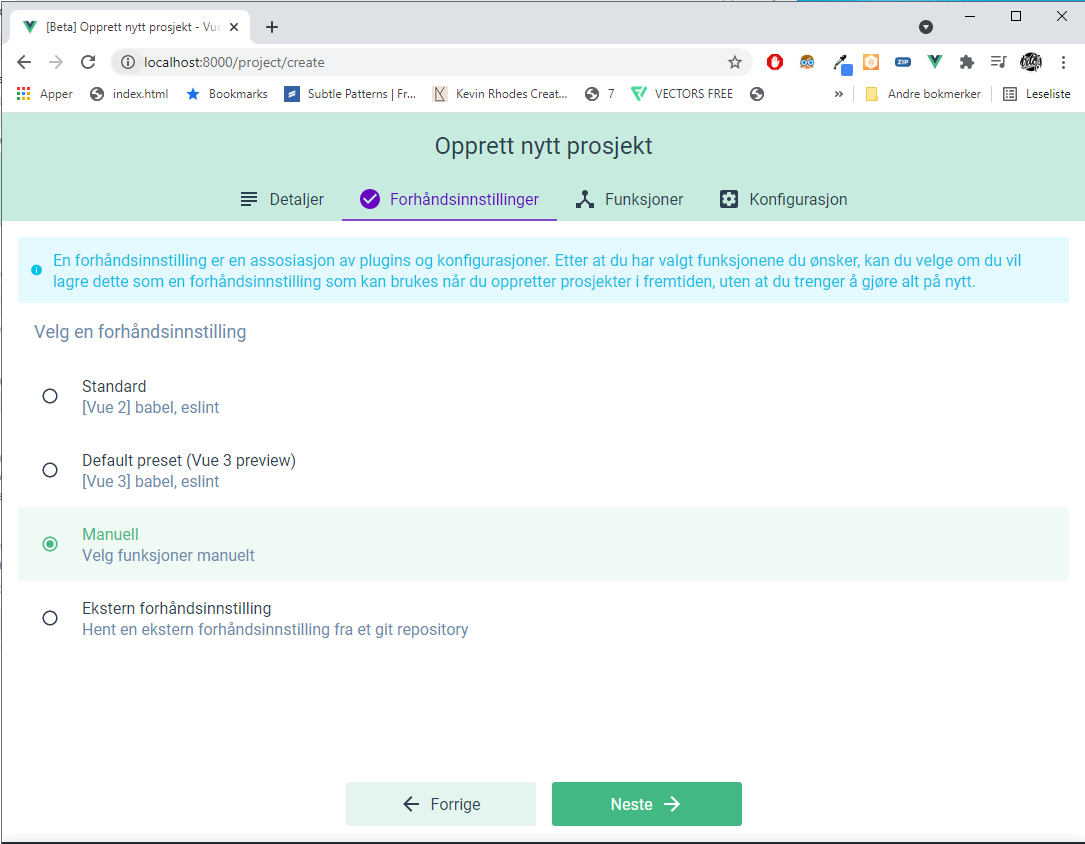
5. In this step you can choose predefined templates for your project settings. You can also create your own template for a team. We are going to select manual to see what our options are.
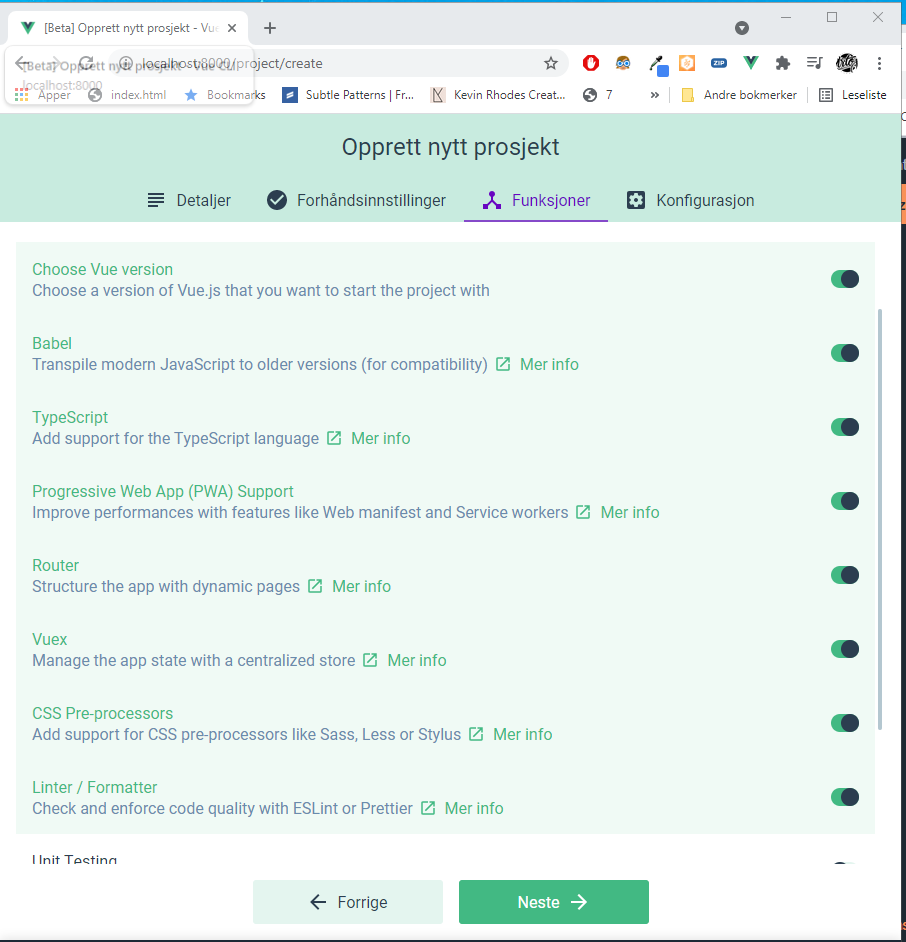
6. At this step you will pick features for your project with a simple toggle function. As you might know, setting up SASS, Typescript, Linter, PWA support etc can be quite a hassle in webpack. The Vue UI handles this with a single toggle function👍
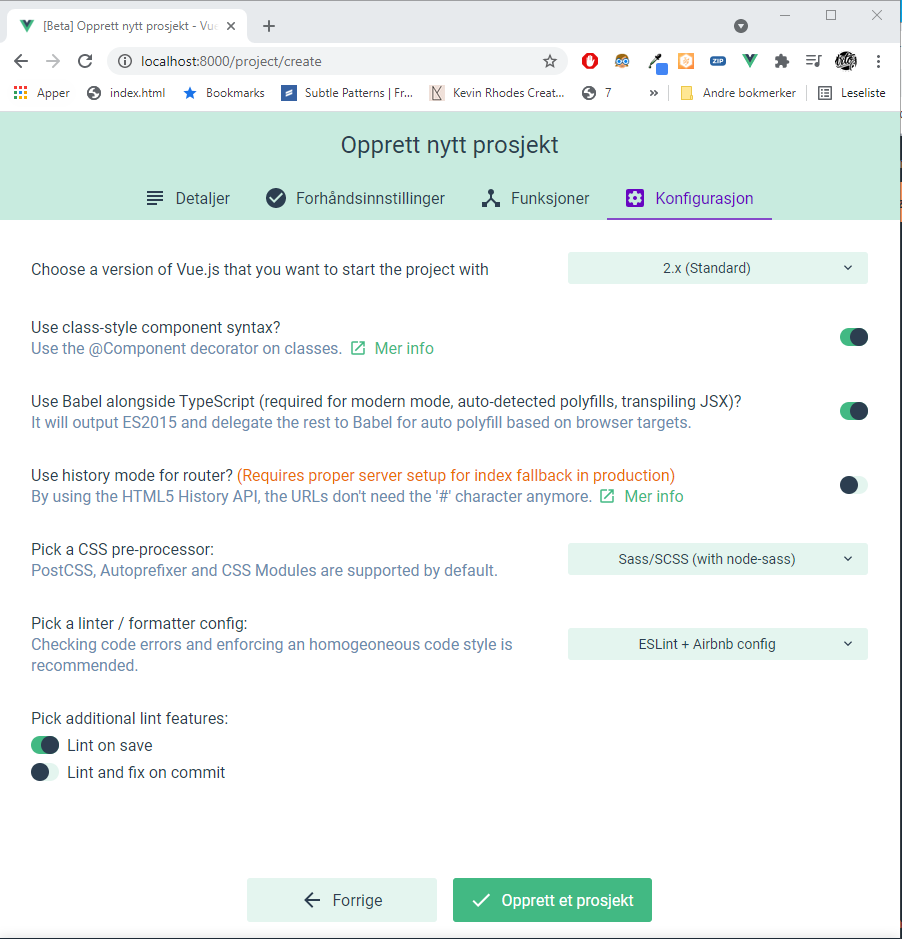
7. Final step. Pick desired linter, syntax preference, CSS pre-processor and hit "Create Project" for the installation to start.
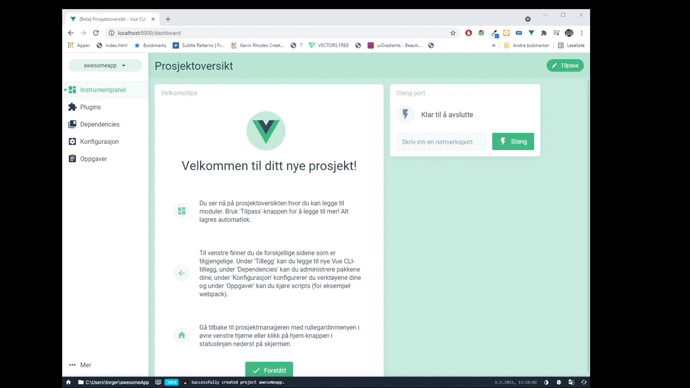
8. Now you will have a full UI overview of your entire frontend application. You can now run your builds and install new features directly from the UI browser view.